Shield: White Label Options Explained
White Label for the Shield Security plugin gives you the ability to rename and re-brand the Shield plugin for your client site installations. With White Label, you can own your own brand.
Important: Before you start using White Label, please ensure that White Label system is enabled.
White Label Options Explained
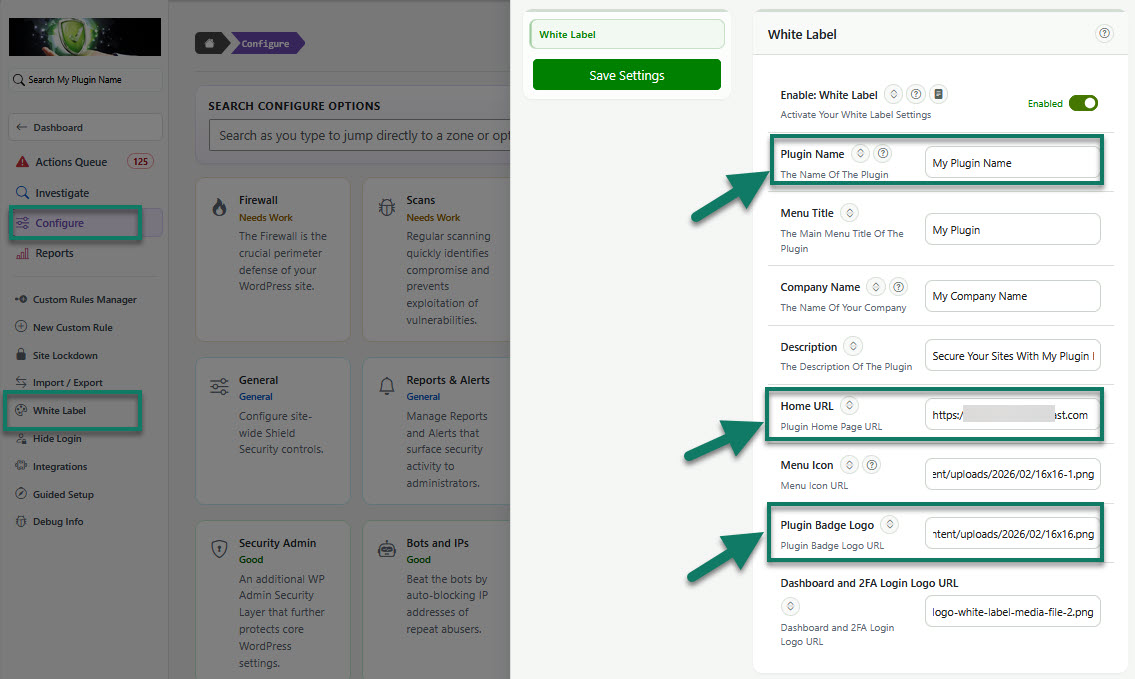
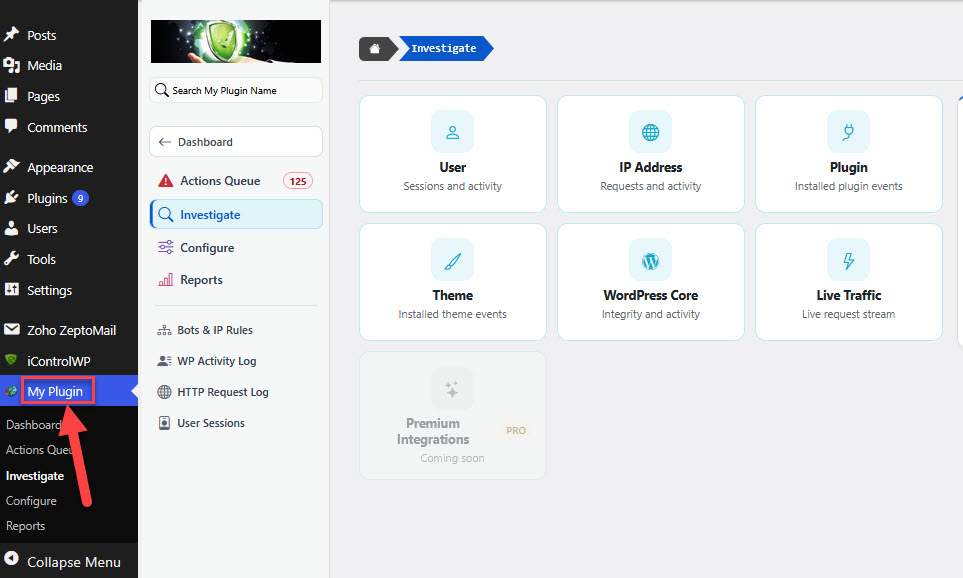
White Label is accessible from within the main sidebar menu > Configure > White Label.
To activate it, you'll need to enable "Enable: White Label" option as shown in the screenshot below.

There are several White Label options and we're going to explain each one of them, along with examples.
Custom Plugin Badge
You can replace the plugin badge with your White Label settings by setting your own plugin logo, name and site URL, so when your site visitor/user clicks the home link for this plugin, they’ll be directed to your specified URL.
Example, if you want to replace the following on the plugin badge
- plugin name
- home URL
- plugin badge (logo) - option "Plugin Badge Logo", should measure 128px x 128px.
... ensure that you have set your custom plugin name, site home URL, and plugin badge logo
Example: Your Plugin Custom Badge

Further Plugin Badge Customisation (using filter)
You may use a WordPress filter to make fine adjustments to settings and styles of the plugin badge:
https://gist.github.com/paulgoodchild/a5e39497a14cbfe90b76ff1860ec5a16
You can customise
- plugin name and text
- badge background
Example: Filter (customise plugin name, text & background)

Example: Plugin name, text & yellow background

Option: Plugin Name
The Shield plugin name displayed on the plugin pages will be renamed.

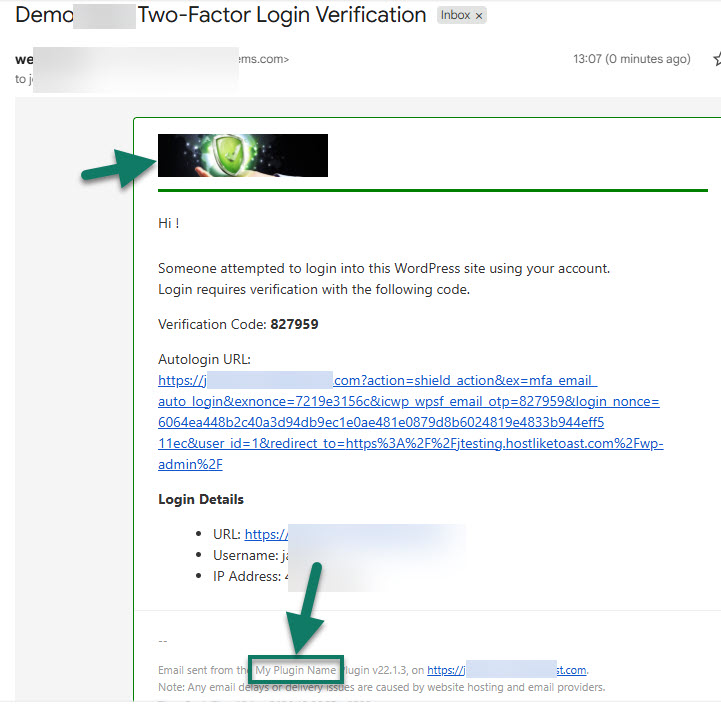
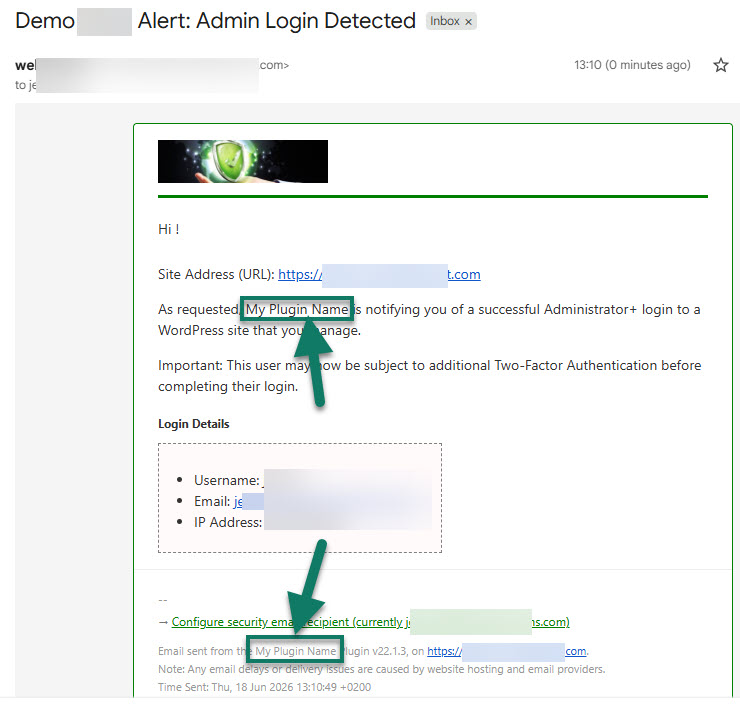
Also, any emails sent out to users will display your custom plugin name in place of “Shield” (i.e. 2FA login verification, user/admin login notification, site reports...).
Hint: You can further customise 2FA login verification email content sent to your users by using custom templates detailed here.
Example: 2FA verification email
Example: Admin login notification email
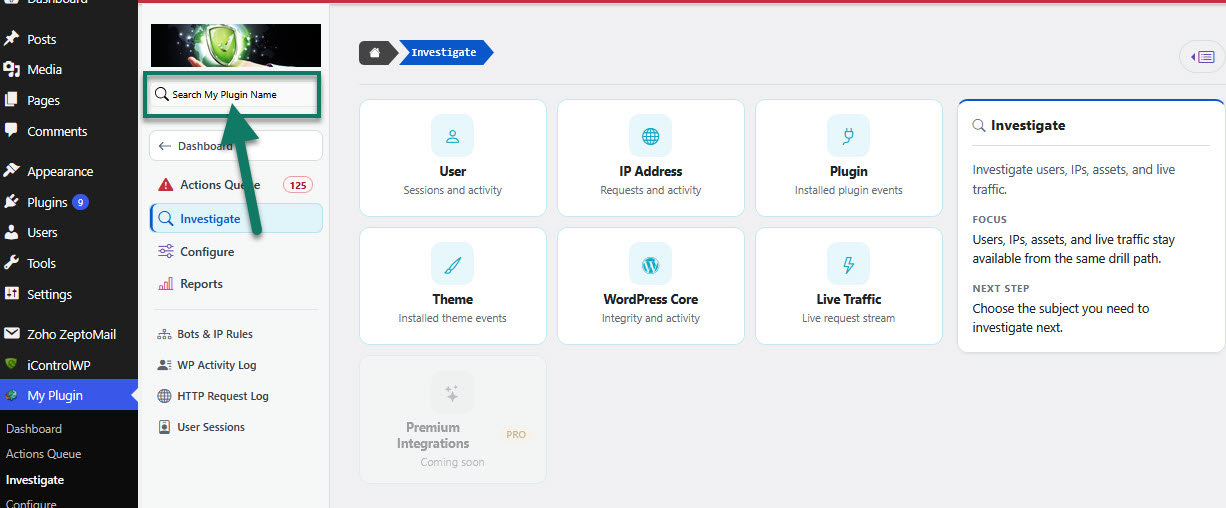
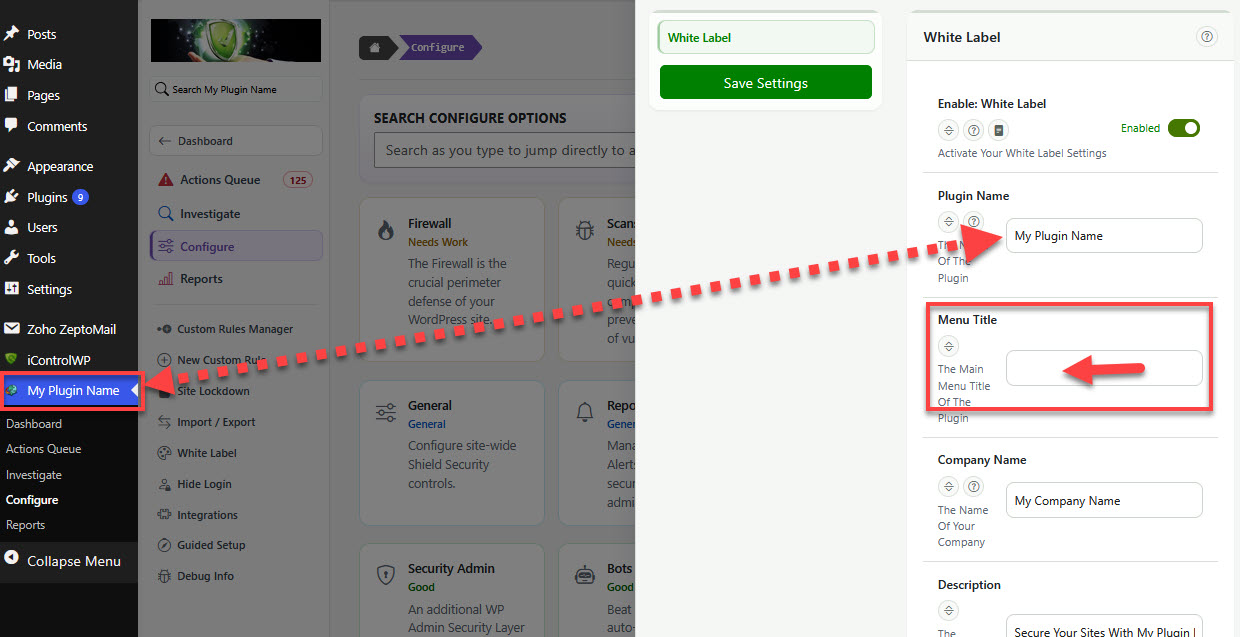
Option: Menu Title
This is the main menu title of the Plugin.
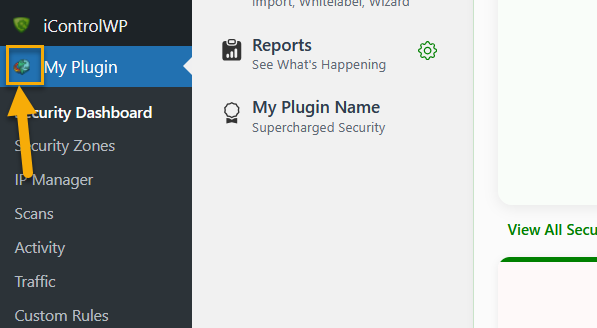
For example, if you set your own menu title of the plugin to "My Plugin", "Shield" name will be replaced with "My Plugin".
Important: If Menu Title field is left empty, the plugin name you have set in the "Plugin Name" field will be used. For example, your plugin name is set to "My Plugin Name", and your main menu title to "My Plugin". If you remove "My Plugin" and leave the field empty, your menu title will display "My Plugin Name". (see the screenshot below)
If you want to get back the original plugin name (Shield Security) in the main menu, remove both plugin name and plugin main titles.
Option: Company Name
You can set your own company name (i.e. "My Company Name").
It will replace our company name with yours, (on the Plugins page).
Example: Custom Company Name

Option: Description
You can have your own description of the plugin displayed on the Plugins page.
Example: Custom Plugin Description

Option: Home URL
You can set plugin home page URL. When a user clicks the home link for this plugin, this is where they'll be directed.
Example: Your company home URL on the Plugins page
Example: On the plugin badge
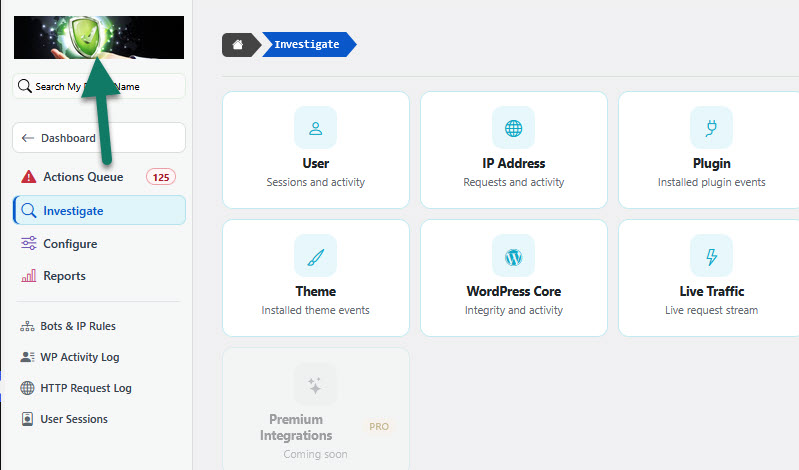
Option: Menu Icon
You can choose what icon will be displayed in the main menu.
Important: Please provide the full logo URL and ensure that the URLs for your company logos are valid and publicly accessible.
The icon should measure 16px x 16px.
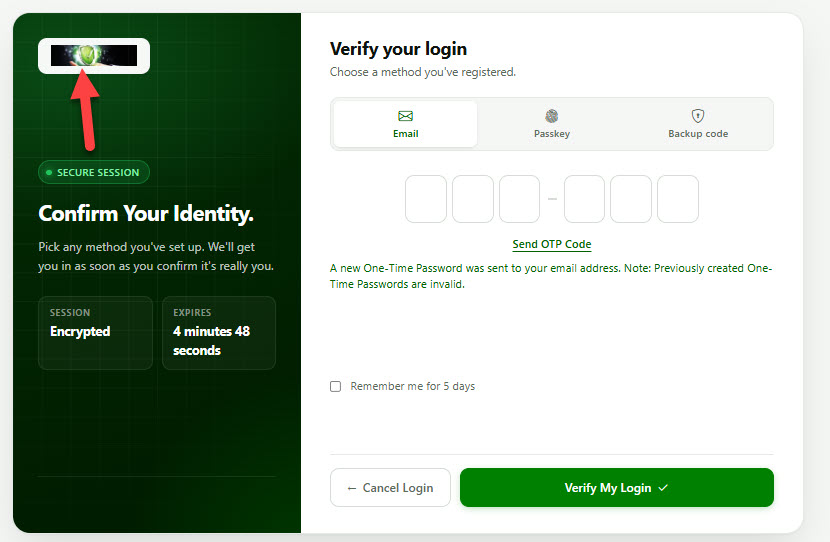
Option: Dashboard and 2FA Login Logo URL
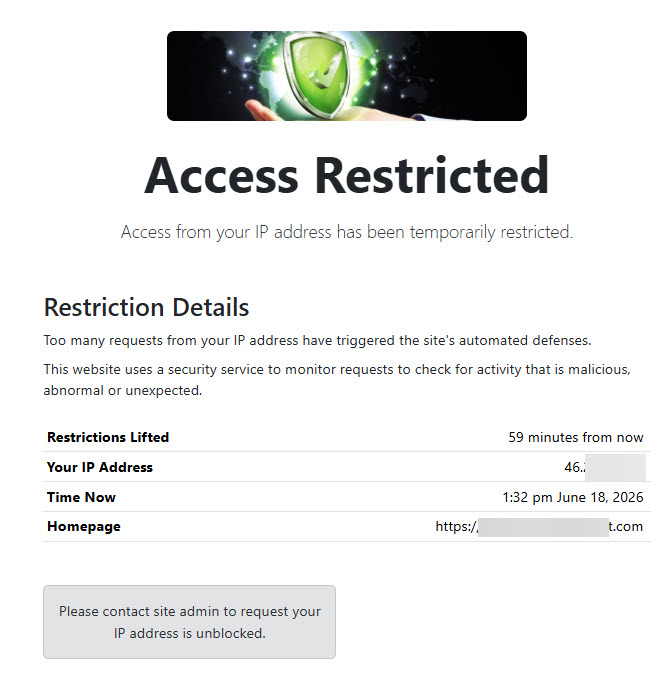
You can choose what logo to display on the Dashboard and the Two-Factor Authentication login page (OTP). This logo will apply to the Shield blocking pages too.
Important: Please provide the full logo URL and ensure that the URLs for your company logos are valid and publicly accessible.
The icon should measure 772px x 250px.
Example: Shield Security Dashboard logo and URL
Example: 2FA Login Logo
Example: General Shield blocking page
For more information on White Label for Shield Security, please read this release article here.